| 5.2. Exporting engagements to PowerPoint | ||
|---|---|---|
 | Chapter 5. Exporting Data |  |
| 5.2. Exporting engagements to PowerPoint | ||
|---|---|---|
| | Chapter 5. Exporting Data | |
It's quite common for analysts to include Debrief screenshots in PowerPoint presentations. On occasion an analyst will record a screencast of a running engagement, to give a dynamic presentation that conveys more information. But, these video recordings can be very large (10's of Mb), and while it isn't easy to email them around, it's practically impossible to get them to a ship.
An alternate mechanism is to represent the vessel tracks as animated objects in PowrPoint. These consume very little disk space (typically a couple of kilobytes) - and can be added to an existing PowerPoint briefing at negligible cost incurred.
The engagement is exported to a specically configured donor file, formatted as described in Section 15.5, “Master template for export scenario to PowerPoint”
Debrief injects the exported data is into a donor template. You may use one provided by your organisation, or you can use the sample one provided with Debrief, titled master_template.pptx, in the sample_data/other_formats folder.
Assign the donor template by selecting it in the Debrief preferences window:
Figure 5.2. Specifying donor file location
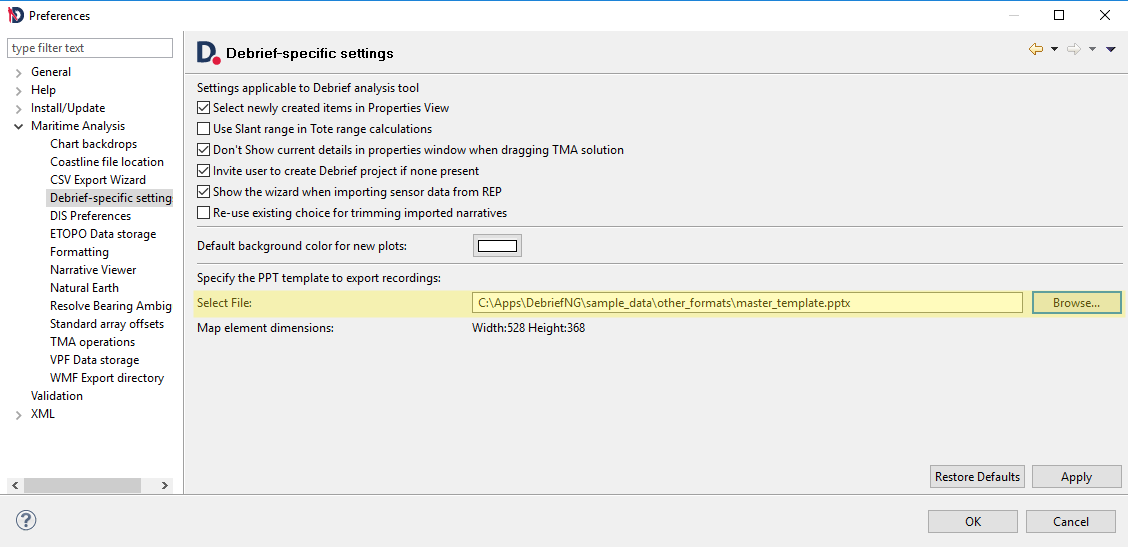
Note that the preference window also displays the size of the map frame that it found in the donor template.
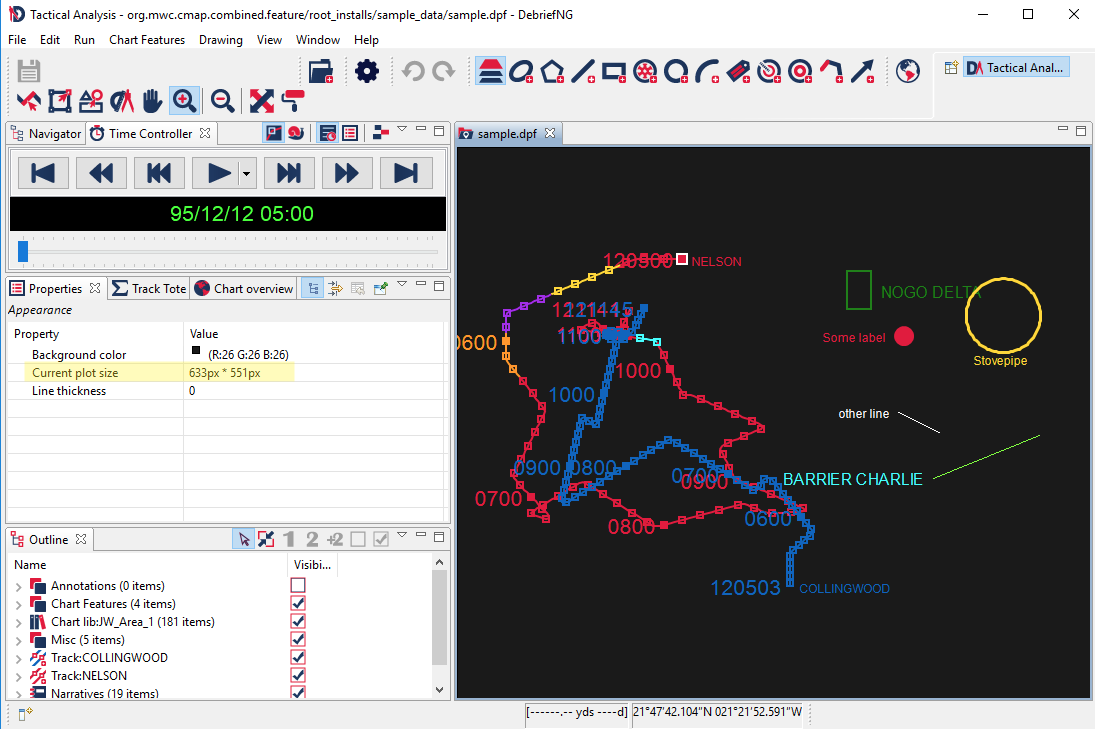
To get an optimal quality of export, the Debrief plot area should be resized to the same number of screen pixels as the map element in the donor template (note the the element dimensions displayed on the preference window above). This resizing is performed by you dynamically resizing. Start by loading your Debrief plot, then double-clicking into any area of blank background. This will open the plot properties in the Properties View. Then drag the editor (and/or) Debrief until the plot size displayed matches that in the donor template.
Figure 5.3. Controlling Debrief plot size
Next step is to prepare your plot, as if you were about to give a live debrief, using Debrief's debrief capability. Zoom in on the area of interest, and ensure the relevant tracks are visible throughout the entire period of interest.
Also configure the Time Controller replay settings, so that the scenario moves forward at time steps relevant to the data of interest. These settings are explained more in ???.
It may even be worth pressing Play and performing a trial run through the engagement, as a final check that the data (and time controller properties) are configured in the optimal way to convey your message.
Once you're happy with your data, n export is performed using these steps:
Click on the down-arrow next to the button, and select . 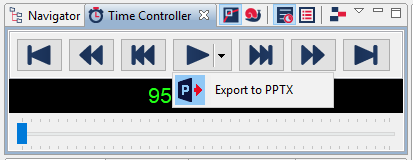
Collapse the drop-down menu, if necessary
Click on , and let the scenario unfold. Note that the time controller indicates that it is recording the engagement.
When you click on , the export to PPT dialog will open.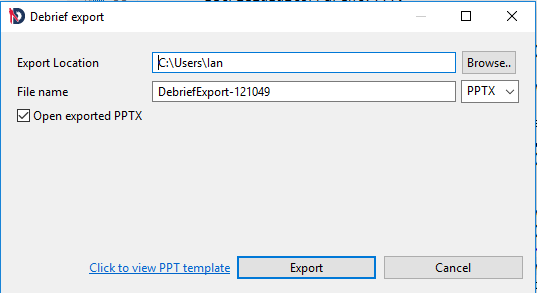
Verify that the export location is correct, and give a filename for the file that gets producued.
Finally, click on . If you clicked on , the presentation will open.
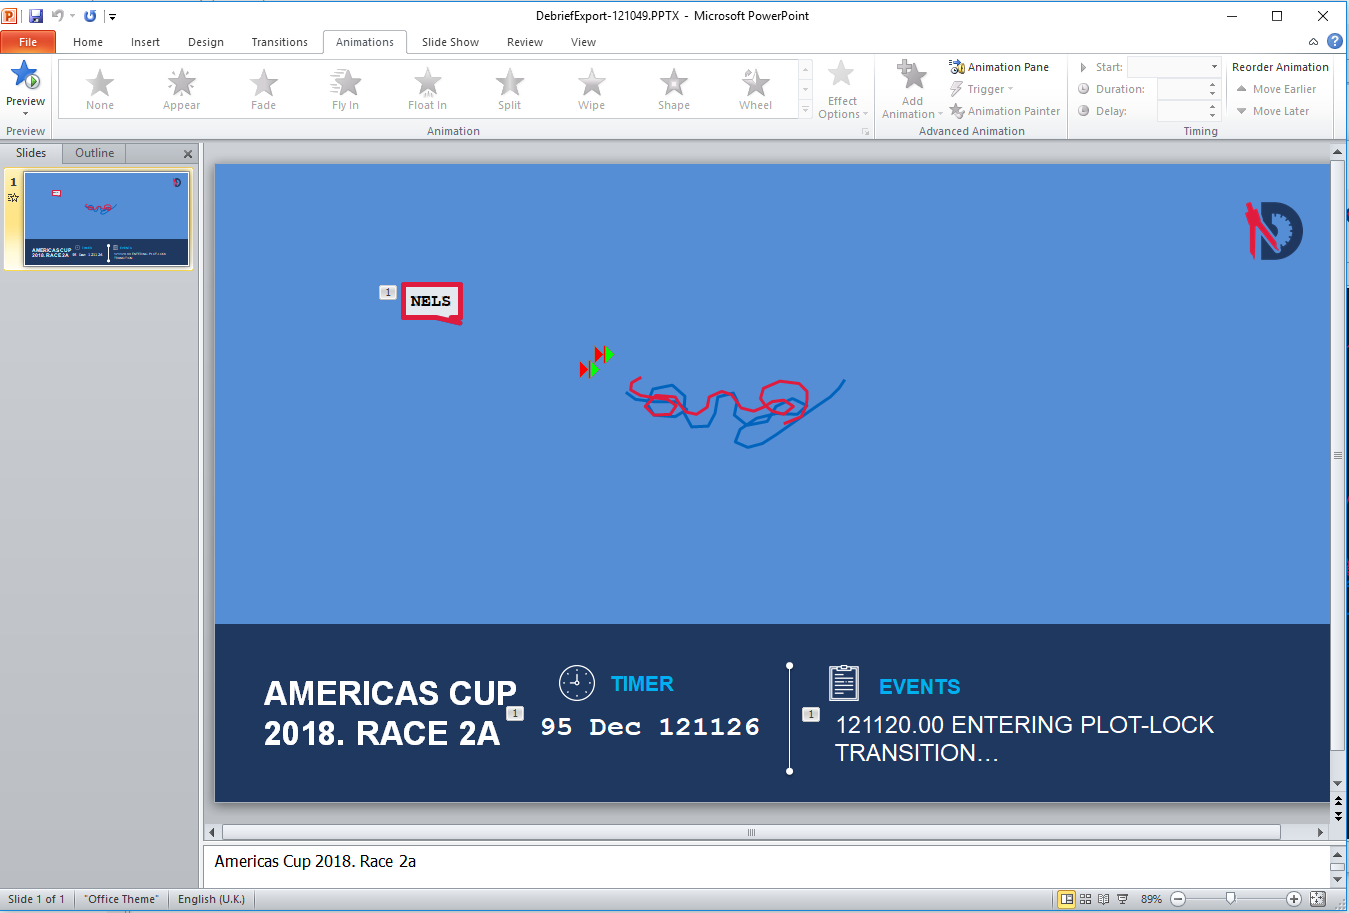
Once you have opened the exported file, you can switch to the tab, then press to watch/verify the dynamict tracks.
Figure 5.4. Sample of exported scenario
| |  | |
| Chapter 5. Exporting Data |  | Chapter 6. Symbol sets |